MOD-UI
MOD-UI is the drag-and-drop editor where you build pedalboards, save snapshots, and organize banks. It runs in any browser on the same network as the pi-Stomp, at http://pistomp.local.
The canvas
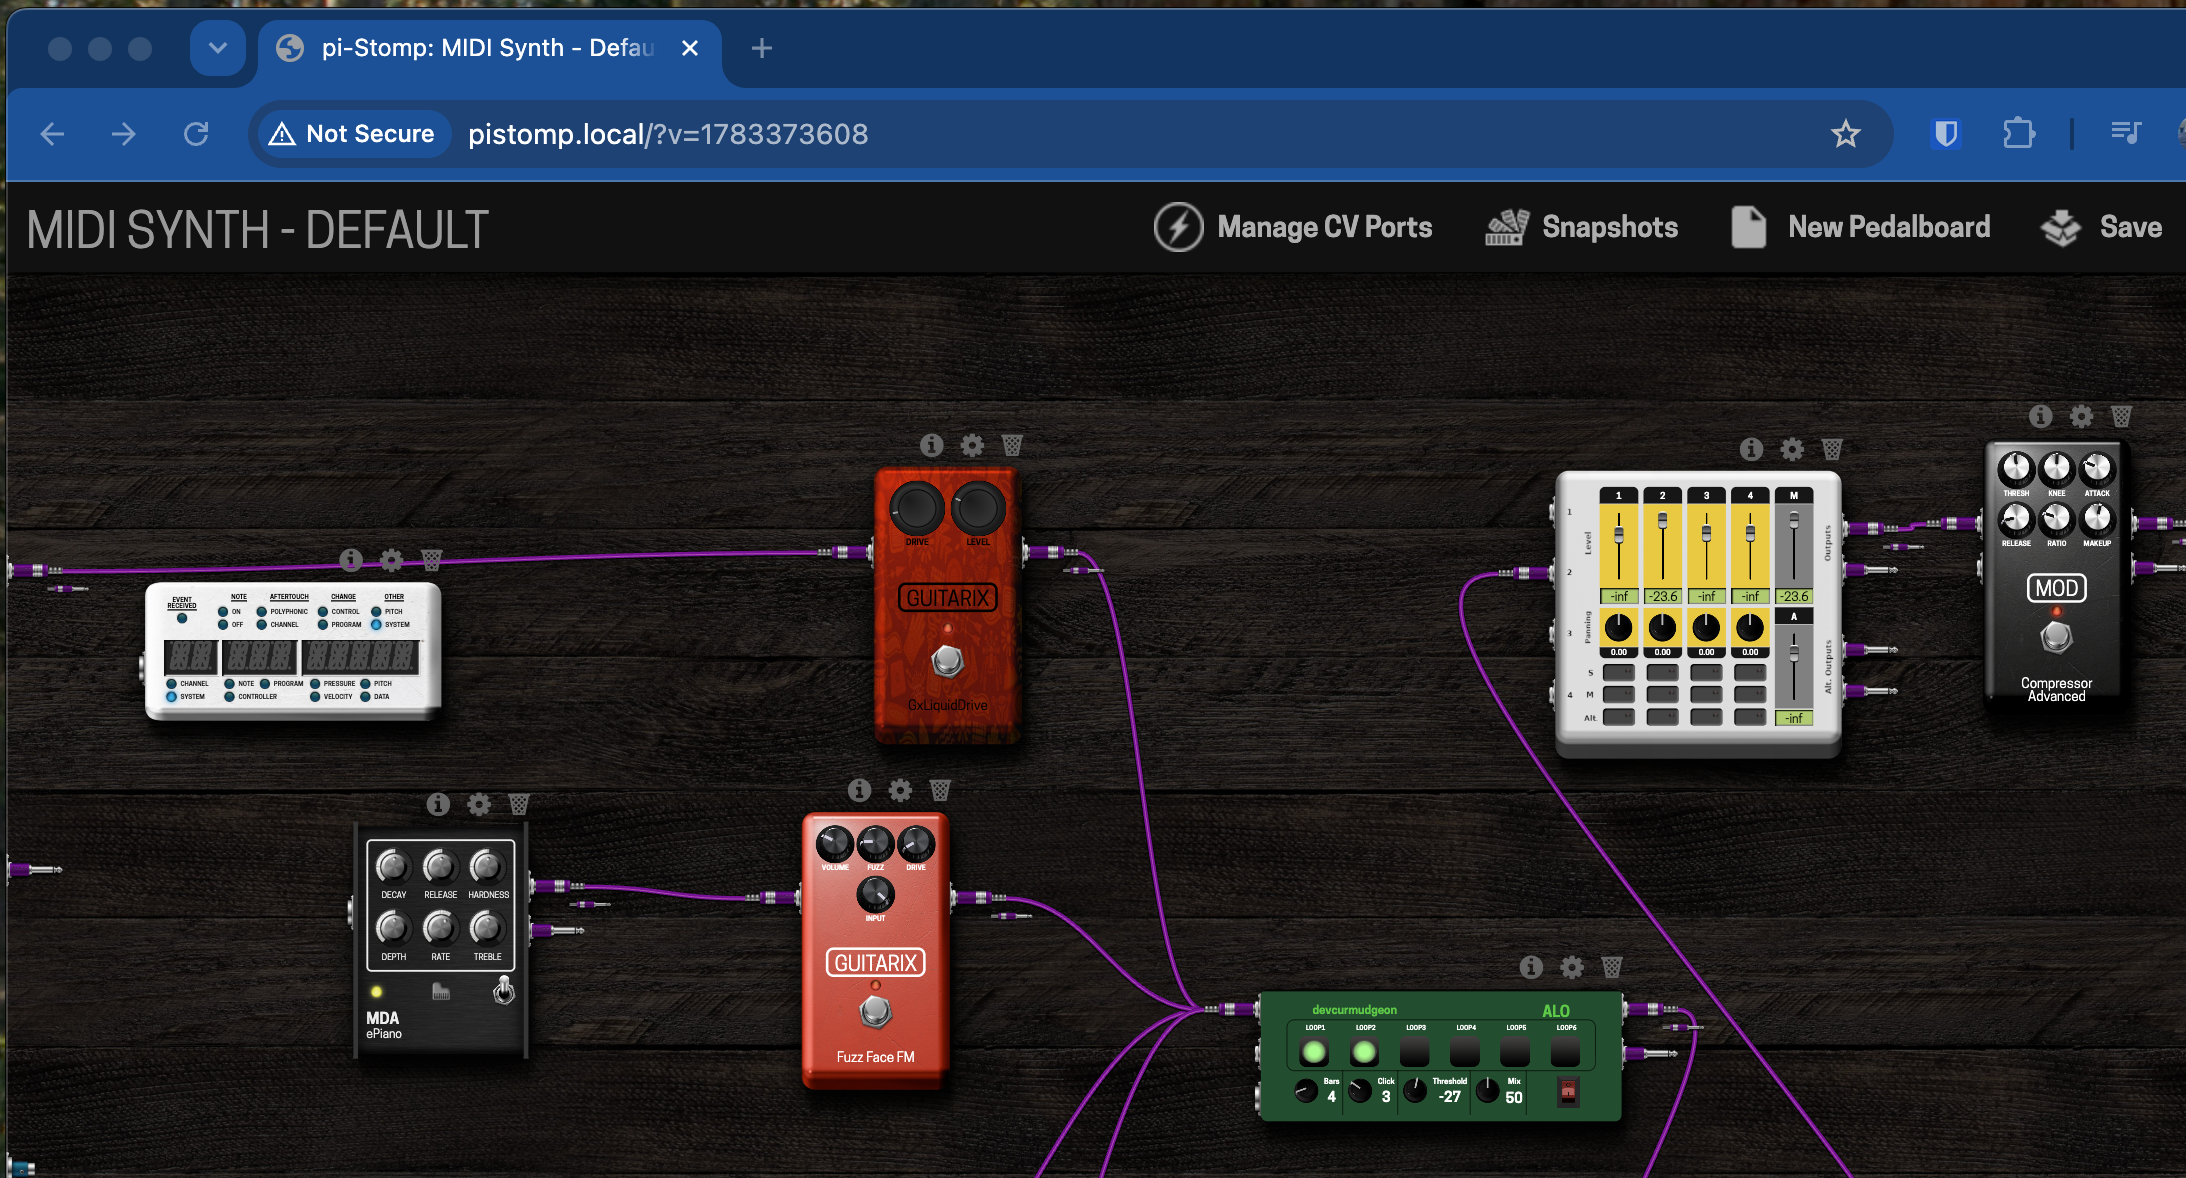
The main area is the pedalboard canvas. Audio flows left to right: the leftmost plugin receives your dry signal first, the rightmost feeds the output. Plugins are rectangles with input ports on the left and output ports on the right. Coloured cables connect ports: purple for audio, cyan for MIDI.
The top bar shows the current pedalboard name and the snapshot selector. The bottom bar (under the plugin browser) contains CPU usage, and the XRUN counter, as well as links to your pedalboard library as well as Patch Storage (see below).

Adding plugins
- Click the plugin browser at the bottom of the screen (or press the browser toggle)
- Search by name, or filter by category
- Drag a plugin onto the canvas
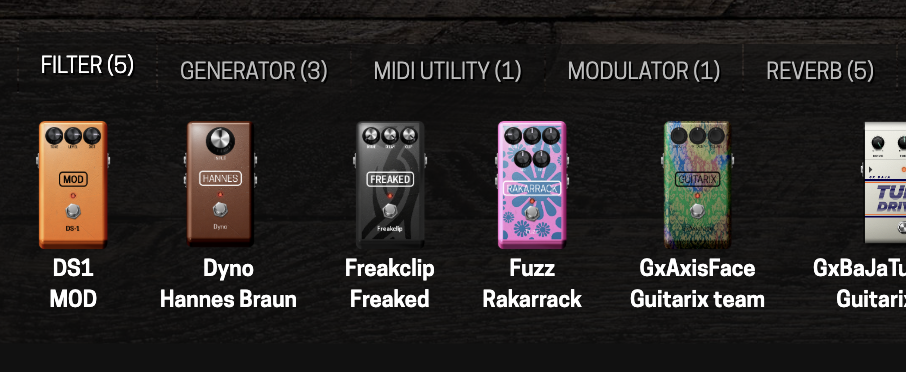
A plugin dropped on the canvas is already running — you'll hear it immediately if your chain is wired through to an output. Browse the full catalogue on the All Plugins page; curated picks live in the Plugin Reference.
Wiring
Drag from an output port to an input port to make a cable. Signal can split (one output to many inputs) and merge (many outputs to one input, summed). Parallel chains are fine — that's how you keep a dry path alongside a wet one, or run two amps into separate cab IRs.
CV cables work the same way but carry control voltage rather than audio. See Control Voltage for that whole world.
The plugin settings dialog
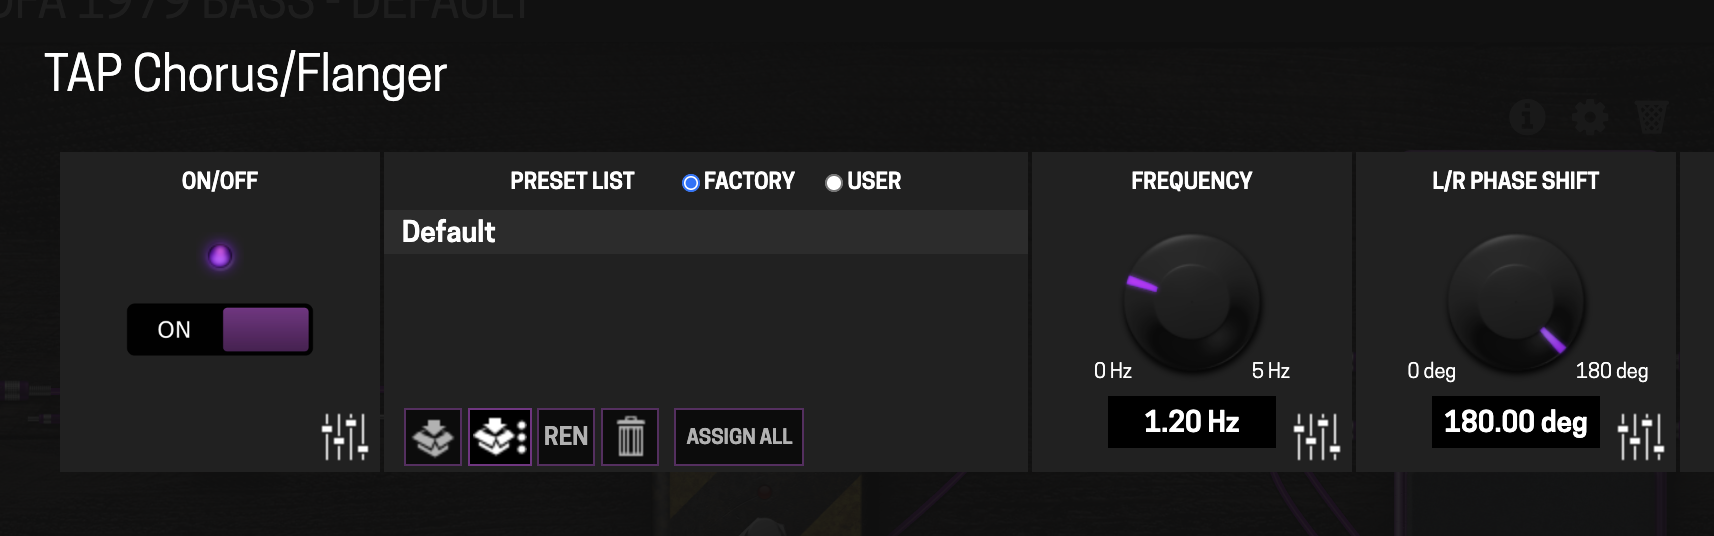
Click a plugin's title bar to open its settings dialog. Here, you can assign hardware to plugin parameters (MIDI learn) as well as tweak parameters finely, including those that are not available via the skeumorphic pedal UI.
| Tab | What it's for |
|---|---|
| Parameters | Every knob the plugin exposes, with its current value. Click a knob to assign a hardware control to it |
| Ports | Audio and CV ports — toggle which ones are visible on the canvas |
| Information | Plugin author, license, version, URI |
Assigning a hardware control
A footswitch, tweak encoder, or expression pedal can drive any plugin parameter:
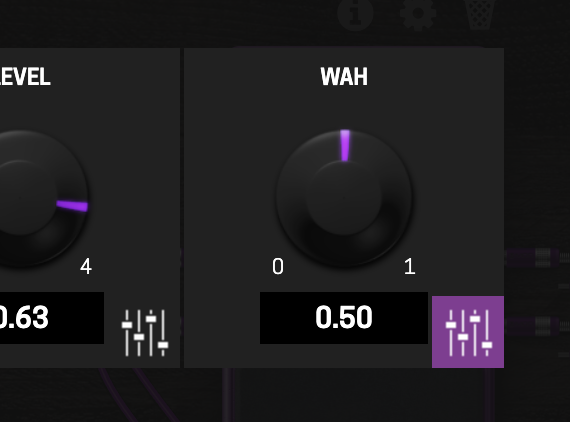
- Click the parameter's modify button (next to its value):
- Choose MIDI as the source:
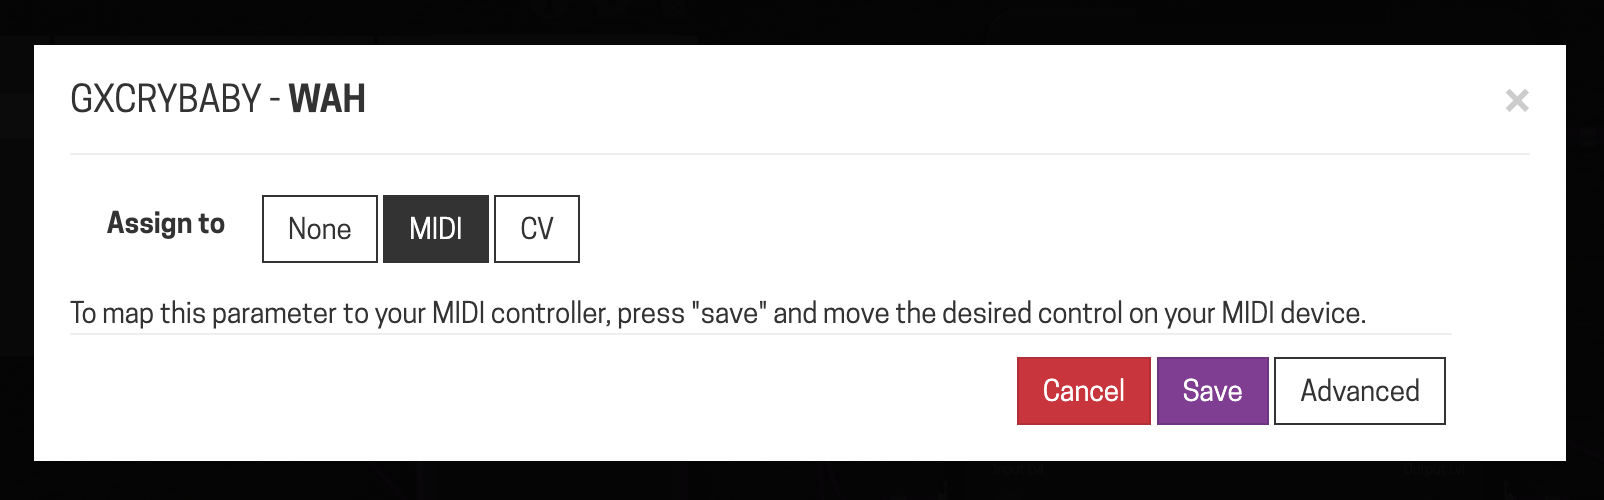
- Save
- Move the physical control you want bound to it
The parameter is now mapped. Save the pedalboard to keep the assignment.
MIDI mode must be set to Separated (not Aggregated) in the plugin's settings, or MIDI learn will not work correctly.
If no confirmation appears in the top right, the control is probably already bound to something else — see Un-assigning below.
Advanced on the same dialog sets a Range narrower than the parameter's own. Set a drive's range to 5–10 and full counter-clockwise on the tweak knob now lands at 5, spending all 128 MIDI steps on the half of the range you use. MIDI Implementation has the transform and its two gotchas, along with the default CC numbers each footswitch and encoder sends.
Un-assigning
A control can't be bound to a new parameter until it's released from the old one. Open the modify dialog for the parameter it's currently bound to, click None, then Save. There's no confirmation; you'll know it worked because the control will now bind elsewhere.
This catches people on the pedalboards that ship with the device, since most of them already have footswitches and tweak knobs assigned. Re-mapping one silently does nothing until you release it from its original parameter.
Pedalboards are not automatically saved
Changes made in MOD-UI sync to the LCD automatically, but they aren't persisted until you save. Closing the browser without saving loses unsaved changes — the device keeps running whatever was last saved.
| Action | What it does |
|---|---|
| Save | Writes changes to the current pedalboard onto your SD card |
| Save as | Creates a new pedalboard bundle with the current state, leaving the original untouched |
You can also save from the LCD: navigate to System Menu → Pedalboard Management.
Snapshots
While a footswitch or tweak encoder might toggle one plugin, a snapshot sets every parameter on your pedalboard at once: great for dialing in tones for different parts of a performance. Each snapshot stores the value of every plugin parameter on the pedalboard at the moment you save it. Effects and wiring stay common between snapshots; only knob positions change.
Creating a snapshot
- Set the plugin parameters the way you want them
- Open the snapshot selector in the top bar:
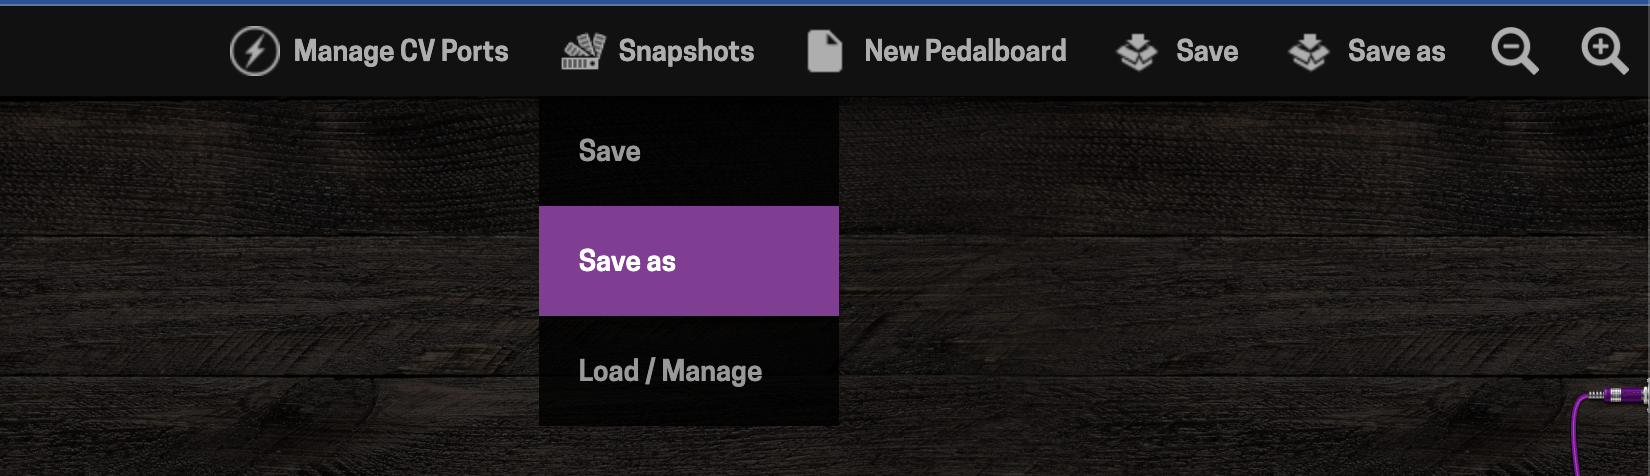
- Click Save as and name it
- Save the pedalboard to persist the new snapshot
Snapshots live inside the pedalboard bundle, so an unsaved pedalboard loses them. Save the pedalboard whenever you create or rename a snapshot.
Renaming and deleting
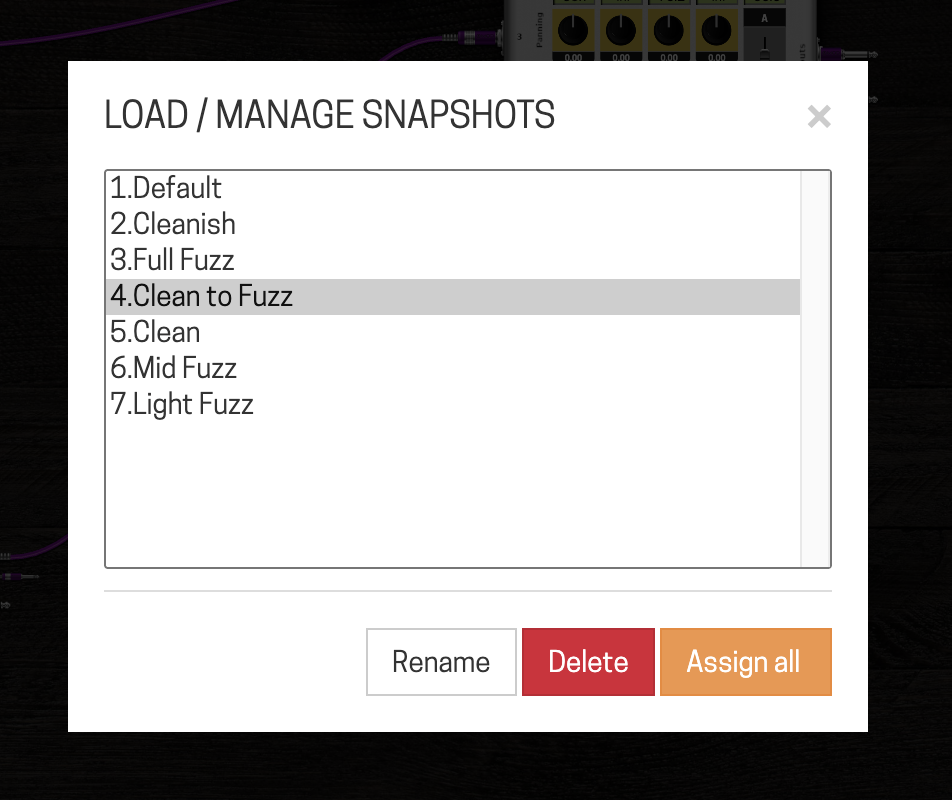
From the same snapshot selector: click a snapshot's name to rename it, or its trash icon to delete it. Both require saving the pedalboard to take effect.
Recalling a snapshot
- In MOD-UI — click the snapshot in the selector
- From the LCD — highlight the snapshot name and click; see Navigation & Controls
- From a footswitch — long-press A (previous) or B (next) by default; see Configuration to change this
- Partially — see Blend mode
Banks
A bank is an ordered subset of your pedalboards — a way to lay out a setlist so that advancing moves you to the next song rather than scrolling an alphabetical list.
Creating a bank
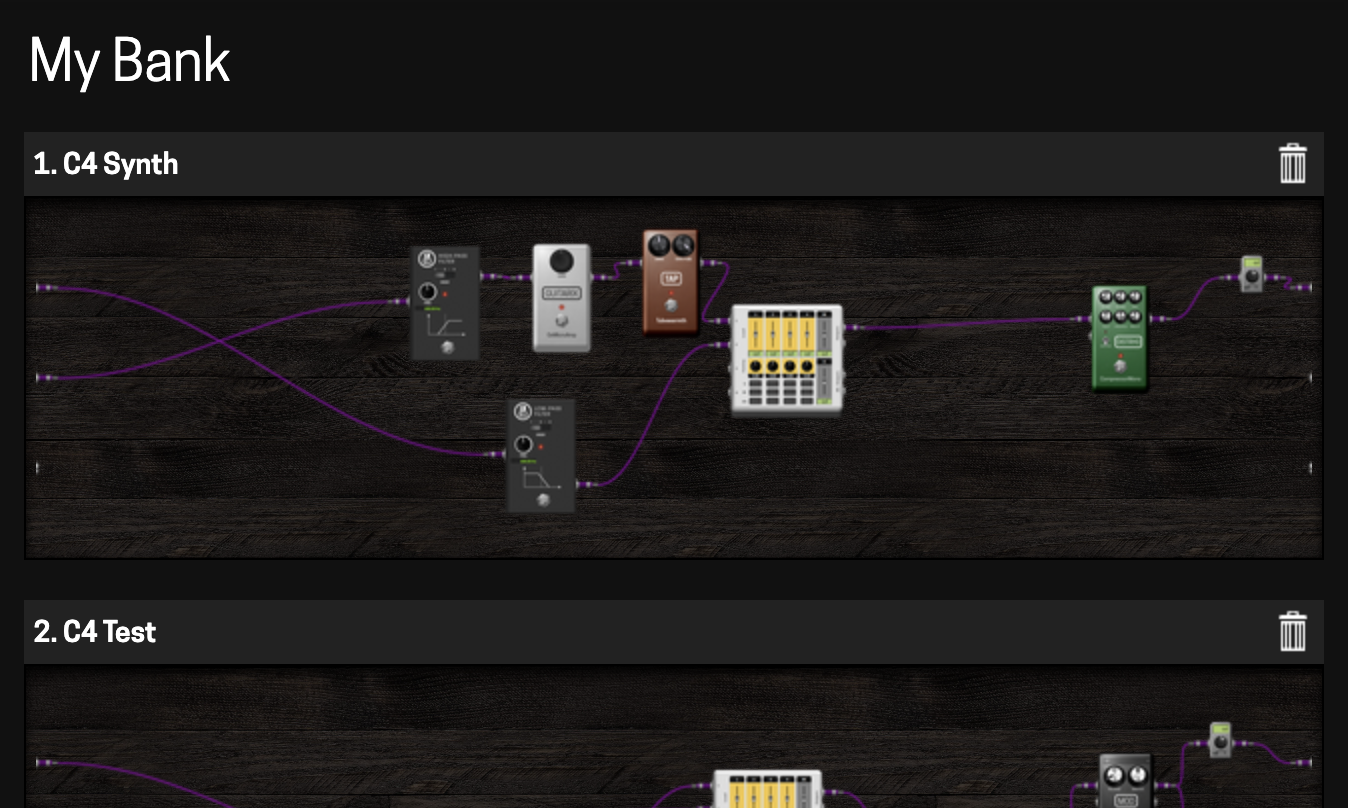
Banks are defined in MOD-UI's Banks panel, accessed from the top bar. You name a bank, then drag pedalboards into it in the order you want them to play. A single pedalboard can belong to several banks. Deleting a bank does not delete the pedalboards inside it.
MOD-UI writes banks.json; the pi-Stomp detects the change and reloads automatically.
Selecting a bank on the LCD
System Menu → Bank Select. The default mode shows all pedalboards on the device. Once a bank is selected, the pedalboard menu only scrolls through the pedalboards in that bank.
See Playing Live for the setlist judgement — when to use one pedalboard per song vs. one pedalboard for the set.
Recording your session
In version 3.0-13 and above, MOD-UI gains the ability to record the output of your pedalboard into a 32-bit stereo WAV (Out1/Out2). This can be triggered by clicking the record button on the bottom toolbar:

The recording button will turn into a stopwatch, showing you how much time has elapsed since recording has begun. Recordings are limited to 4GB (about 5 hours, 48 minutes at 48 KHz), and you must have sufficient space available on your SD card to begin recording. To stop recording click the button again; a pop-up will then appear, allowing you to download the file:
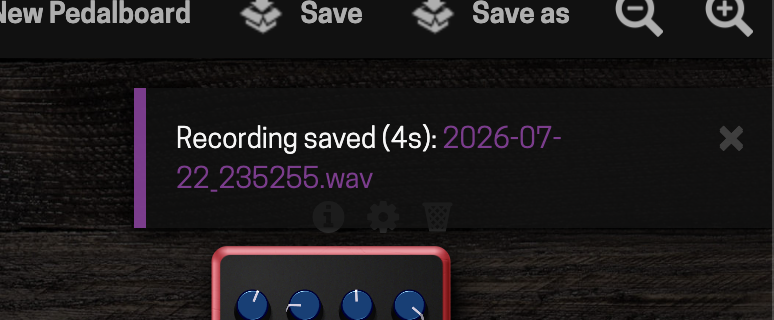
The file can also be downloaded anytime by navigating to the file manager.
The file manager
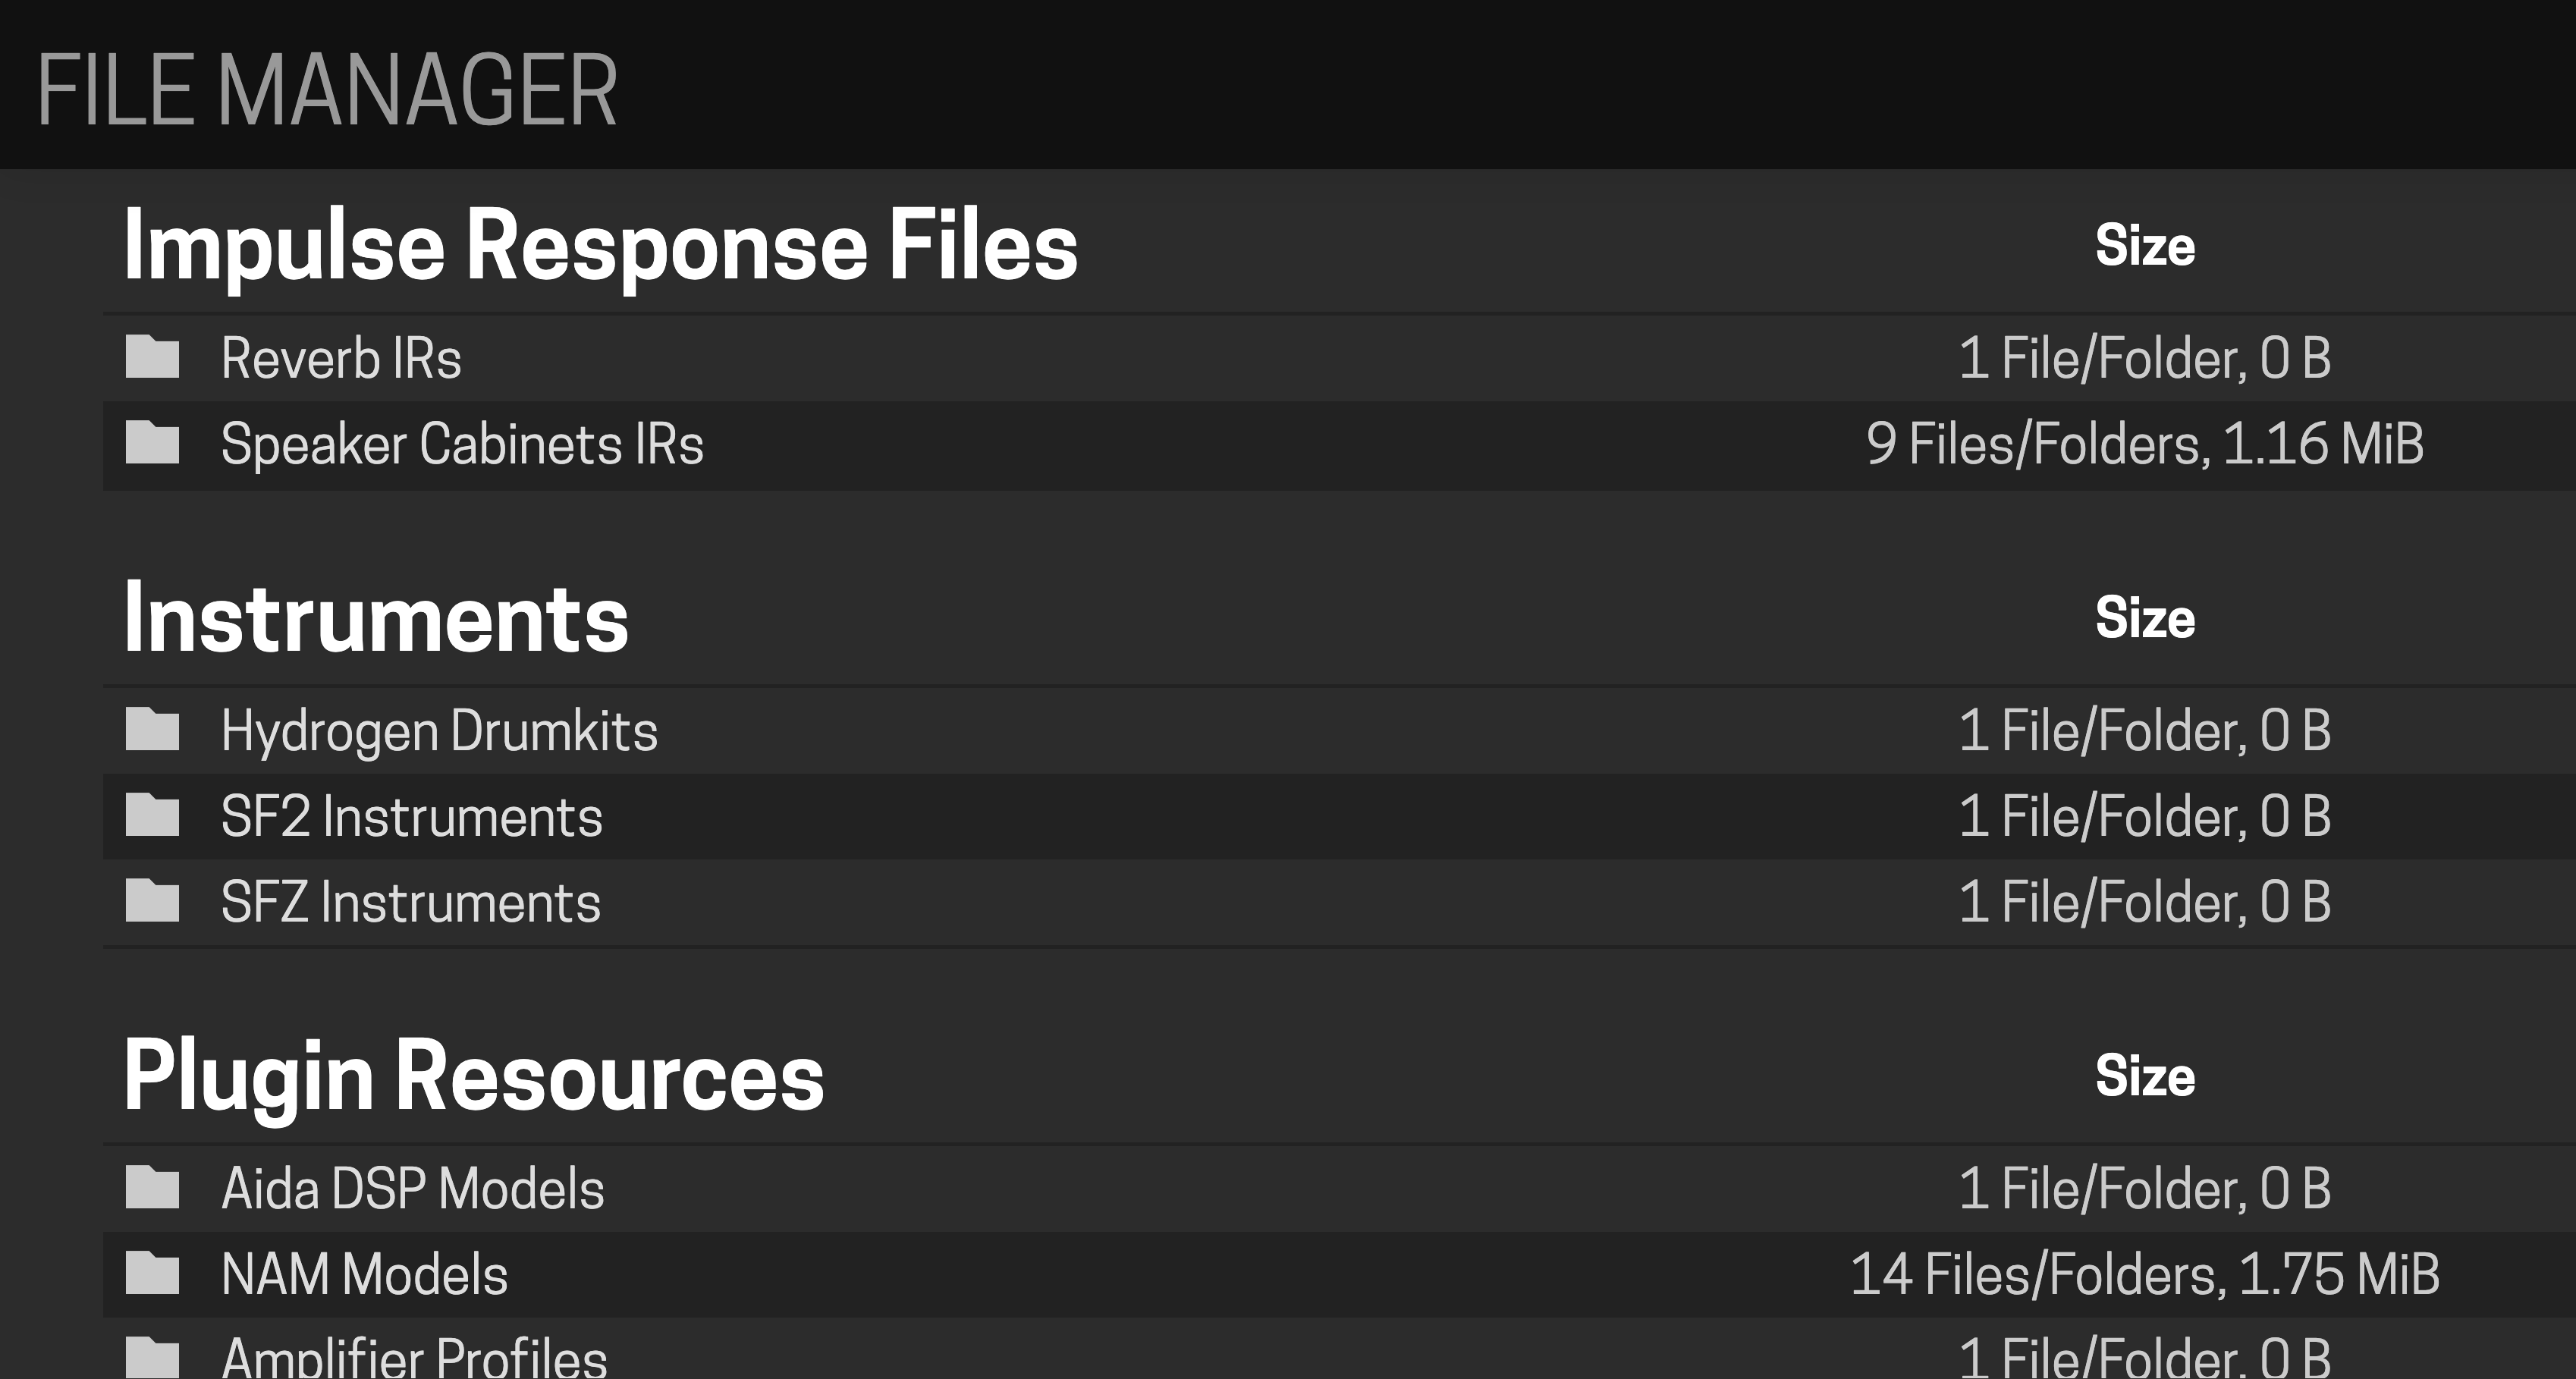
Plugin parameters sometimes need a file — a NAM model, an impulse response, a sample. MOD-UI's file manager (top bar) uploads files into /home/pistomp/data/user-files/ and makes them available to any plugin that takes that file type. Drag a file in; it's stored on the device and appears in any plugin's file picker.
NAM and session captures (see above) put their recordings into the Audio Recordings folder.
Downloading new LV2 plugins from Patchstorage
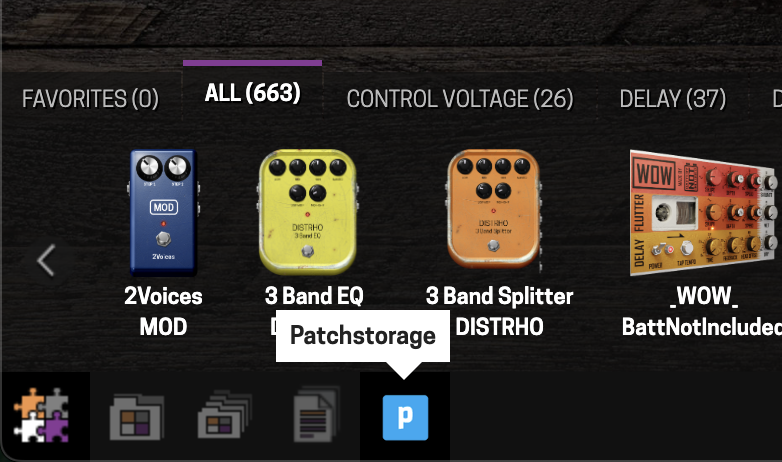
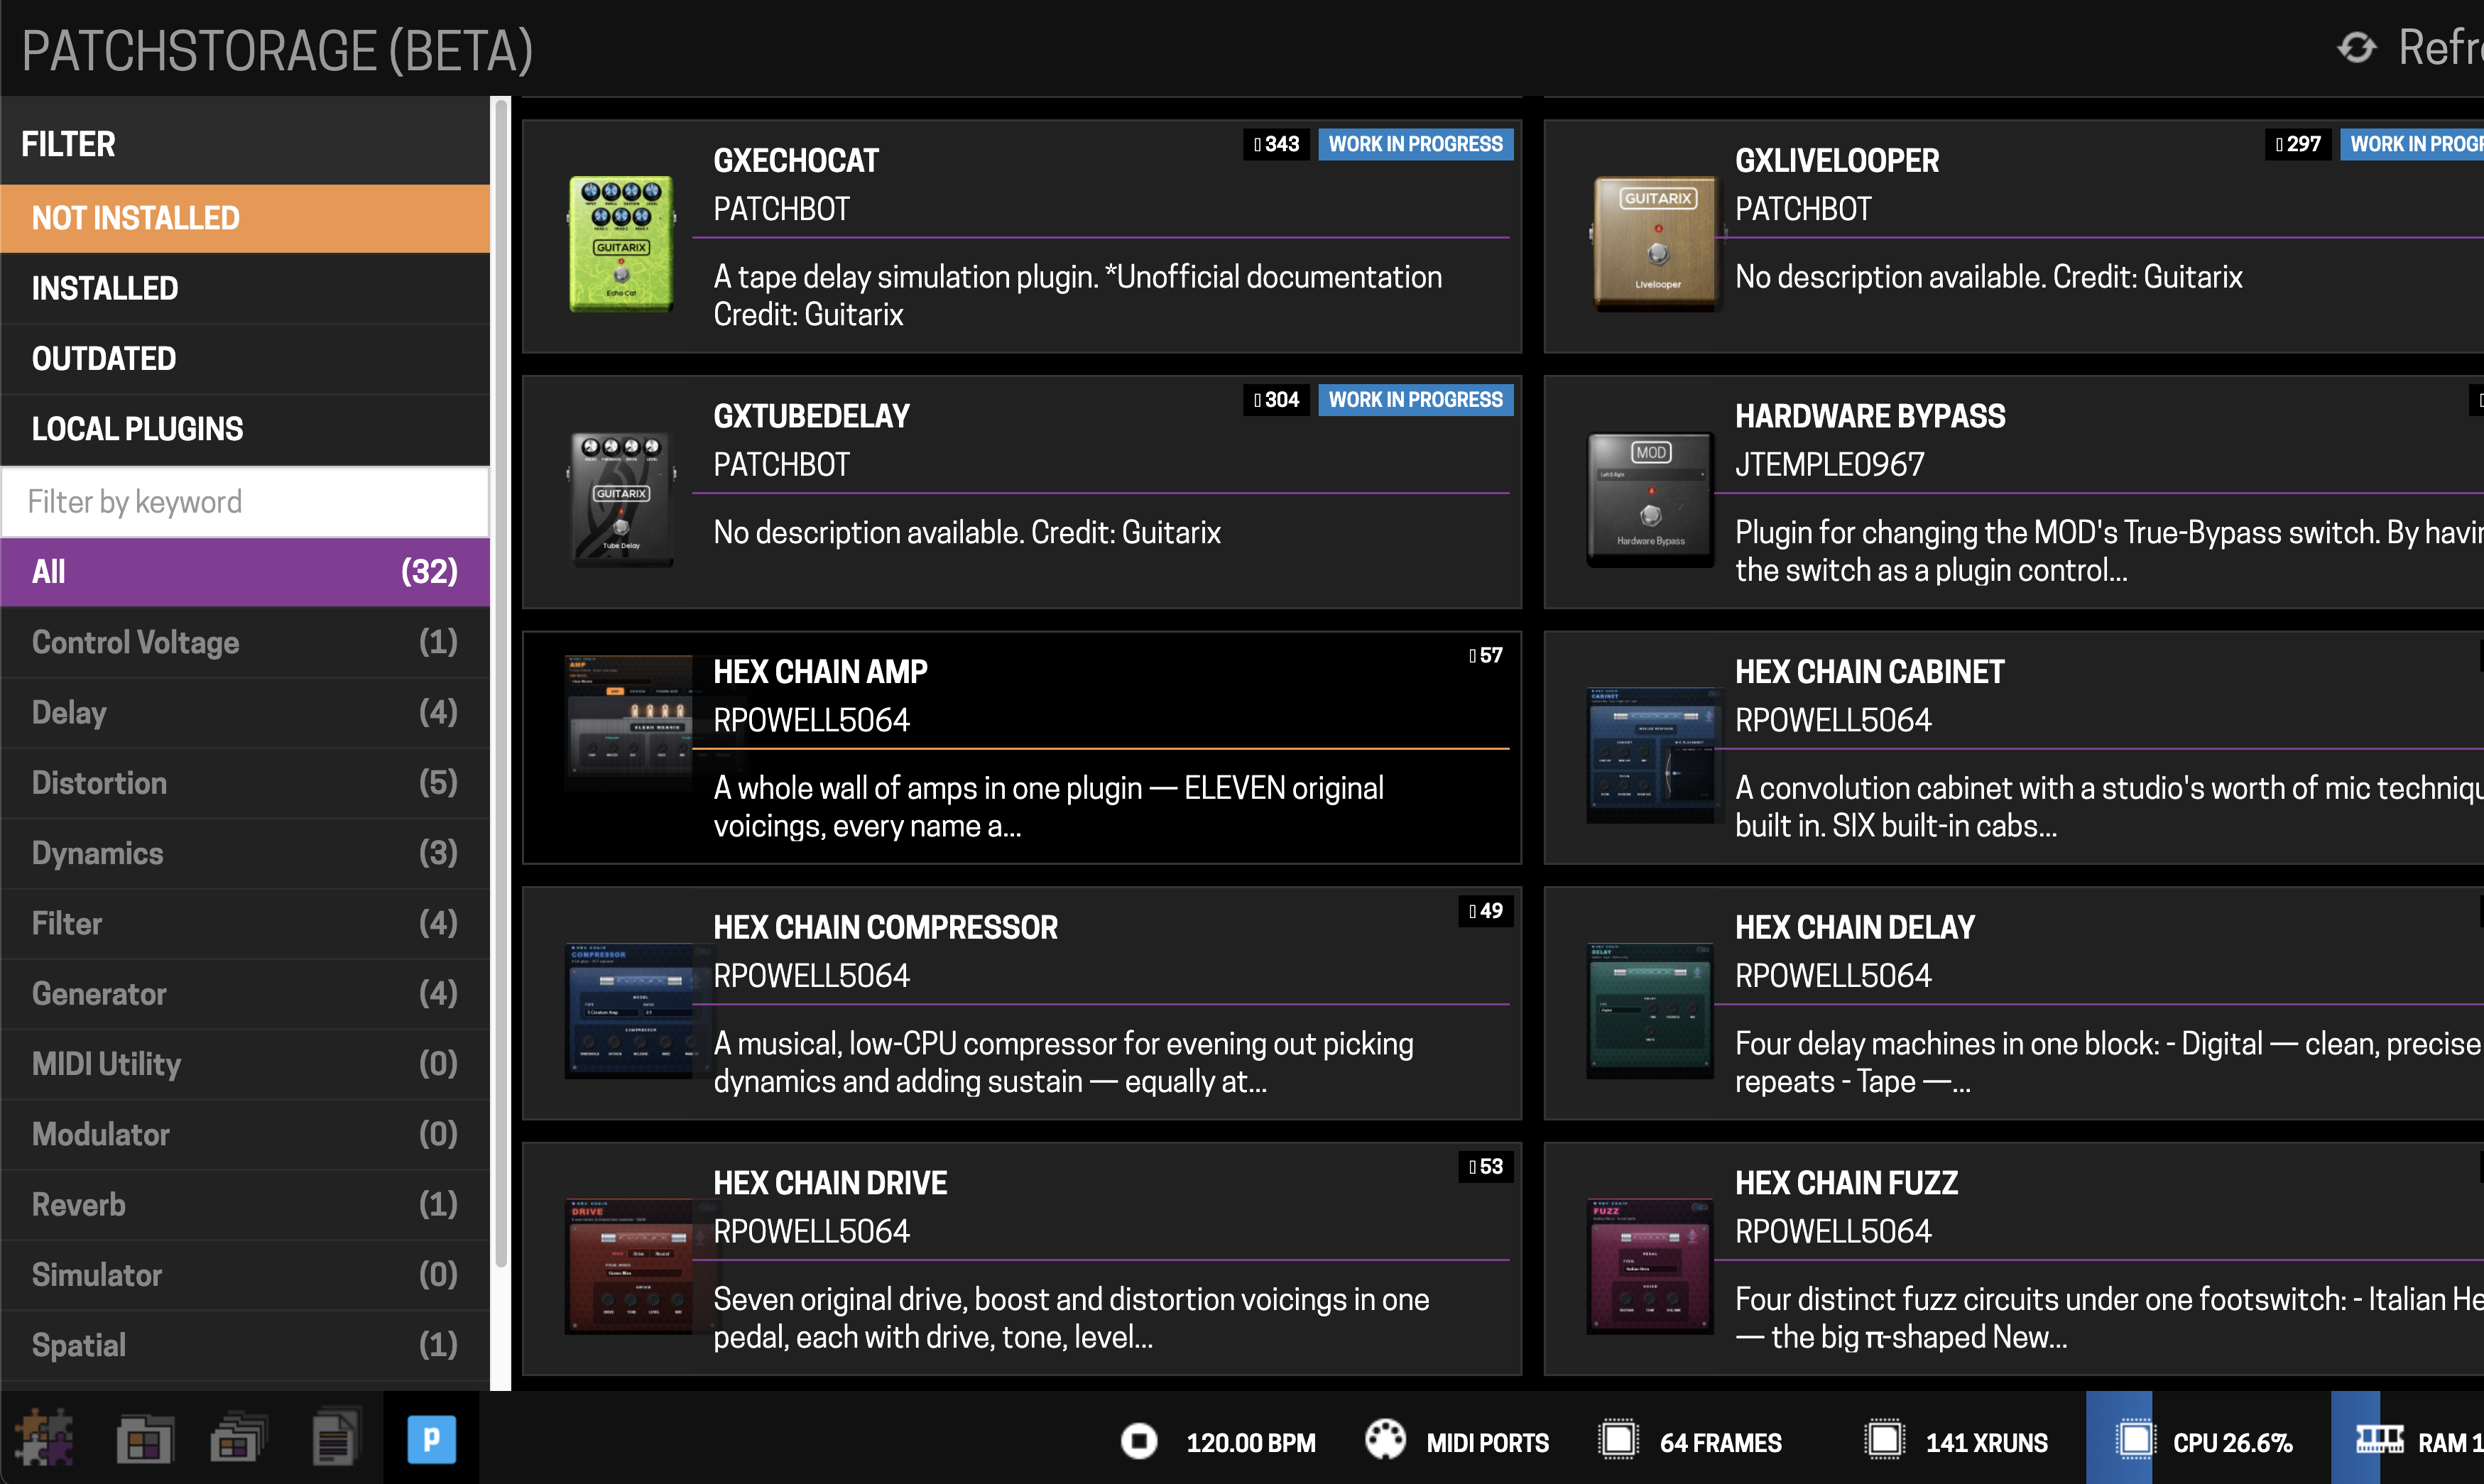
The plugin browser has a Patchstorage tab near the bottom left, beside the file manager and the local catalogue. Patchstorage is a community plugin hosting site; anything you install from there lands in /home/pistomp/data/.lv2/ and shows up in the local browser on next refresh. Factory plugins live in /usr/lib/lv2/ and come from the OS image — they're separate from what you install yourself.
What you can't do from MOD-UI
- Assigning footswitch long-press actions and other pi-Stomp
default_config.ymlconcerns (see Configuration) - Modifying and/or creating
config.ymlinside a pedalboard bundle; see Per-pedalboard overrides and External MIDI routing - Configuring and assigning an expression pedal for Blend mode