Software Installation
pi-Stomp ships as a pre-built OS image. You flash it to a microSD card, tell it your WiFi details, and boot — there's nothing to compile and no packages to install by hand.
What you need
- A completed pi-Stomp (v2 or v3)
- A computer with an SD card slot (or USB adapter)
- The latest pi-Stomp OS image — download the
.img.xzfile under "Assets" - Raspberry Pi Imager, v2.0.11 or newer
Check your Imager version before you start (Raspberry Pi Imager → About). v2.0.11 is the cutoff for the built-in customization wizard used below. On anything older, follow Configuring with pistomp.conf instead — it reaches the same result, just by editing a file.
Step 1 — Flash the card
- Open Raspberry Pi Imager.
- Choose OS → Use custom → select the downloaded
.img.xzfile. - Choose Storage → select your microSD card.
- Click EDIT SETTINGS and fill in:
- WiFi network name, password, and country. The network name is case-sensitive.
- Hostname — leave it as
pistompunless you have a reason to change it. - Username and password — these are the SSH login. You won't need SSH to play, but it's how you reach the device's filesystem later for things like enabling the expression pedal input.
- Timezone.
- SSH public key, if you'd rather log in with a key than a password.
- Click Write.
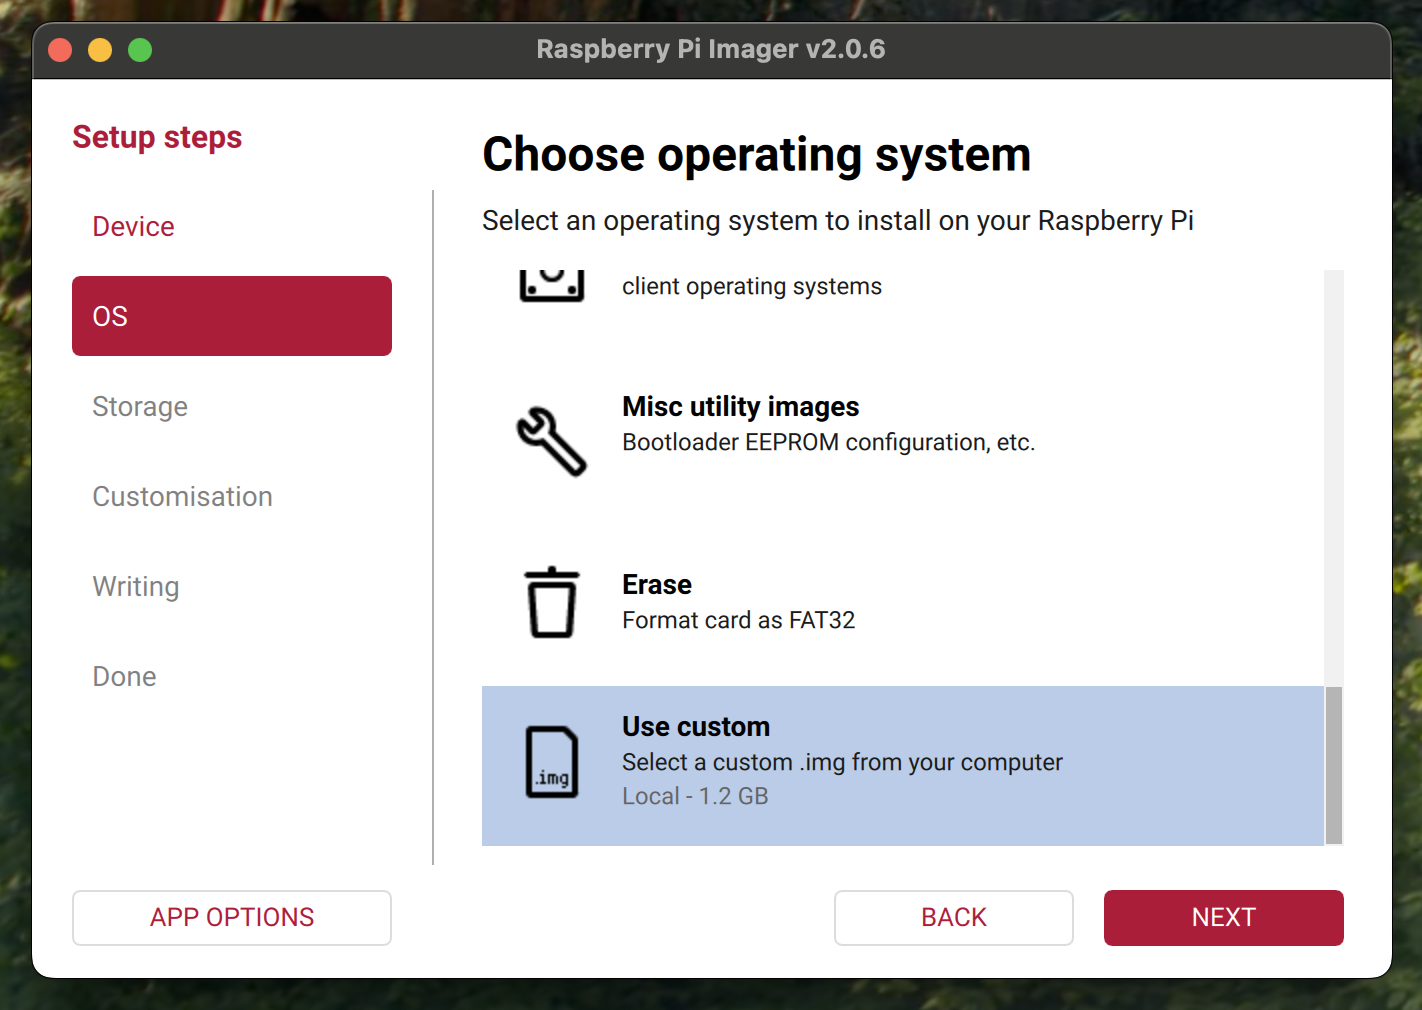
The wizard writes an rpi-preseed.toml to the card's boot partition. On first boot, the rpi-preseed service applies it before any audio service starts.
Step 2 — Boot
Insert the microSD into the pi-Stomp's mainboard (inside the enclosure) and connect power. The boot splash appears on the LCD within a few seconds. First boot takes about a minute while the filesystem expands and services initialize, then the device reboots once on its own.
When the home screen appears, the pi-Stomp is on your WiFi network.
Step 3 — Open the editor
Open a browser on any device on the same network and go to http://pistomp.local/. This is MOD-UI, where you build pedalboards.
MOD-UI comes from MOD Devices, who make their own Linux-based pedals. pi-Stomp runs their editor and their plugin host (mod-host) rather than reinventing them, with pi-Stomp's own software driving the LCD, encoders, and footswitches on top. That's why the web editor looks like a MOD product: it is one.
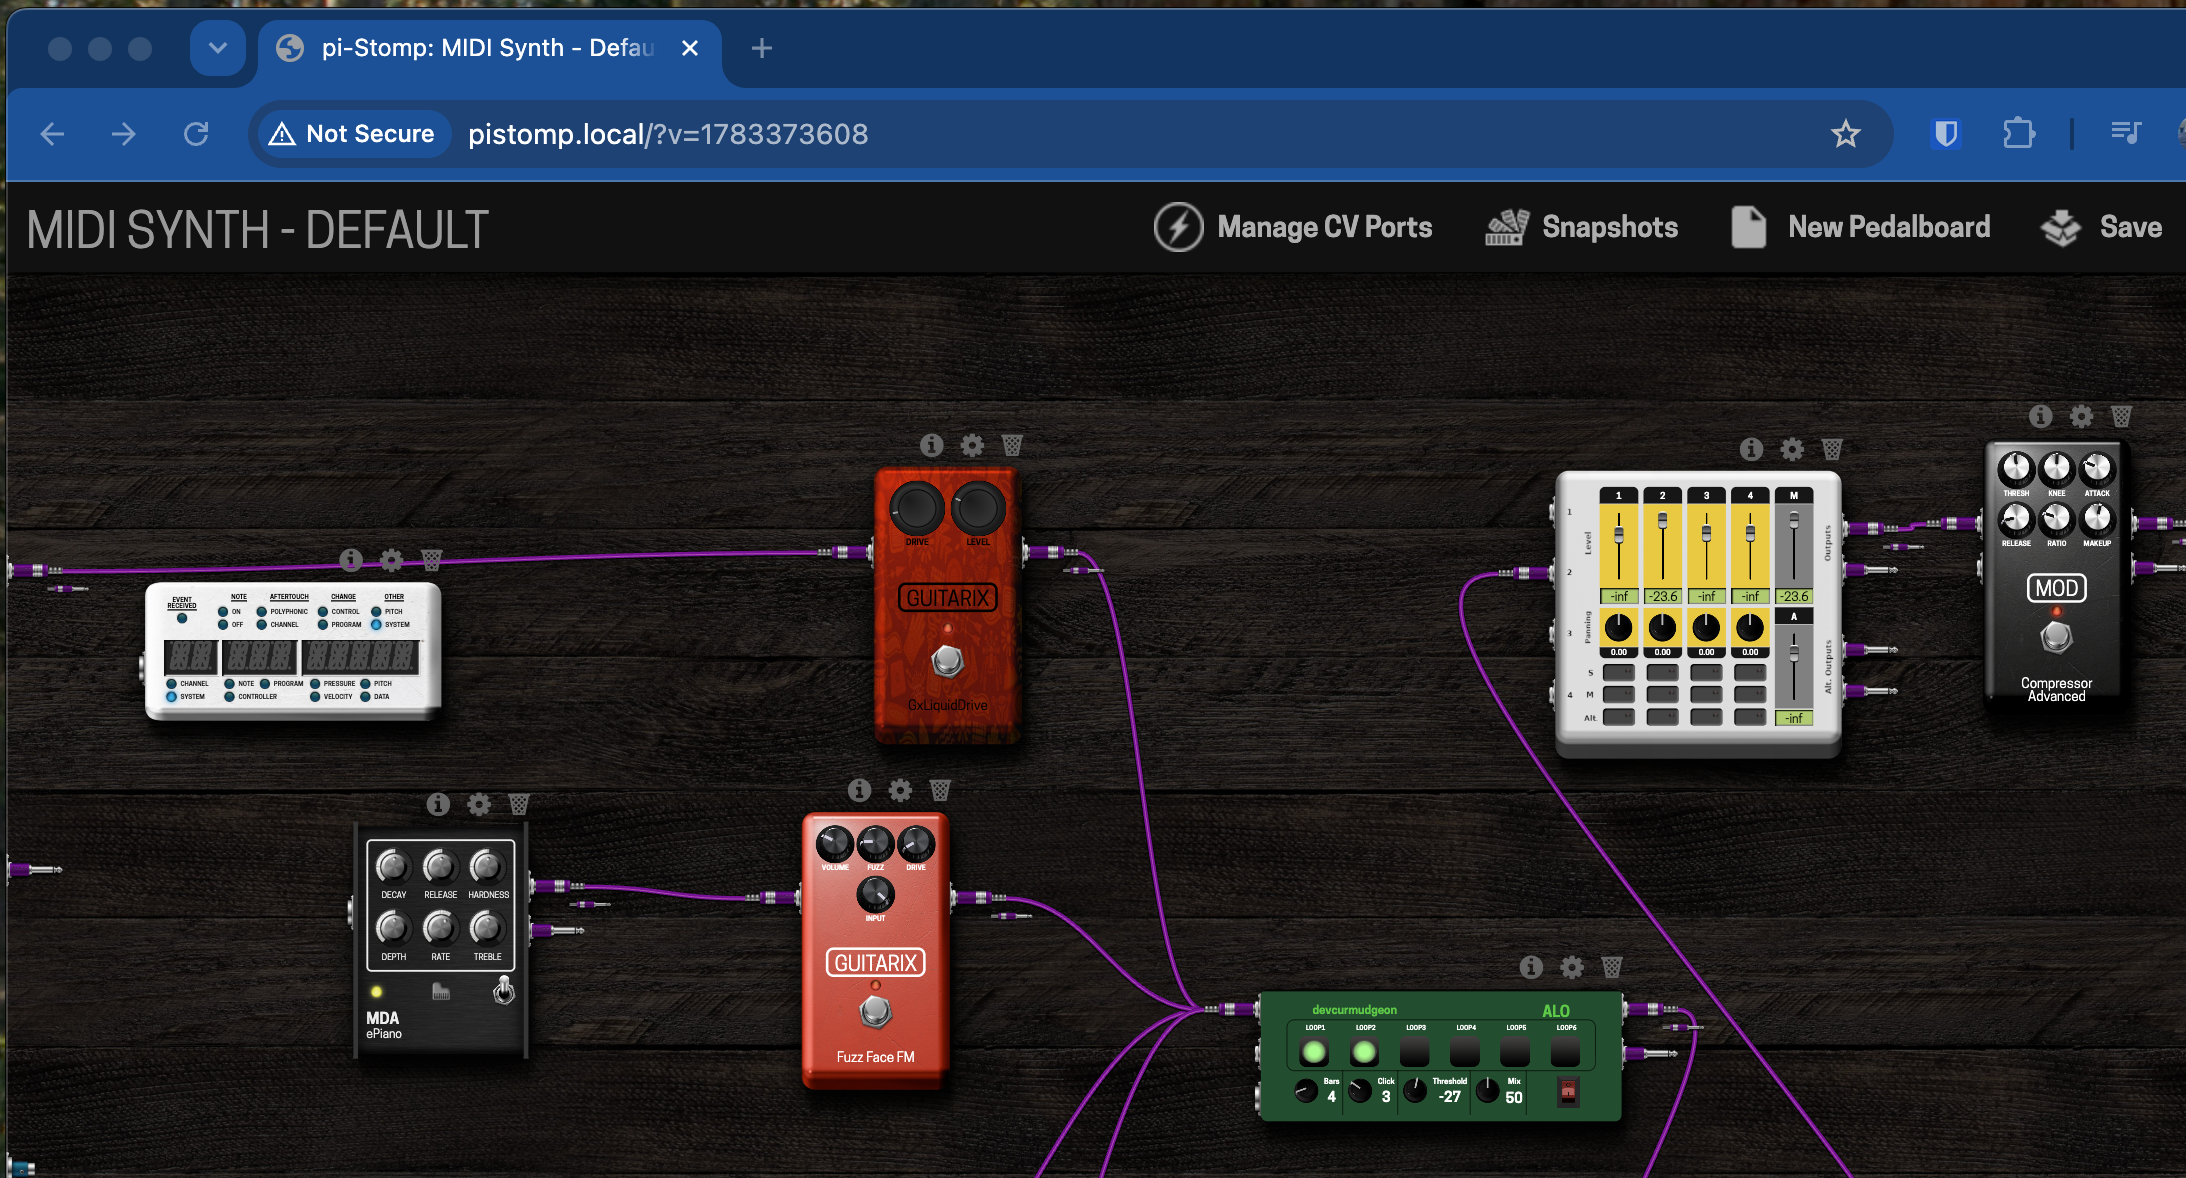
That address works through mDNS, a protocol that lets devices announce their own names on a local network with no router configuration. Not every network passes it through. If the name doesn't resolve, get the device's IP address from the LCD instead: highlight the wrench icon in the toolbar with the Navigation encoder, click it, choose System info, and read the address on the WiFi: line. Browse to that address directly.
What's next
The pi-Stomp boots with a pedalboard already loaded, so it's ready to make sound as soon as you plug in. Quick Start covers connecting your instrument and setting input gain.
Configuring with pistomp.conf
This is the fallback path for Raspberry Pi Imager below v2.0.11, and the way to set options the wizard doesn't expose. Flash the card as in Step 1 but skip EDIT SETTINGS, then edit the file described here before booting.
The cutoff is specifically v2.0.11. Older builds do have customization screens, but they write a format this image doesn't read — the v1.9.x line used a different engine entirely, and pre-v2.0.11 v2 builds differ too. On those versions the wizard appears to work and its settings are silently ignored, so use pistomp.conf.
After flashing, the card's boot partition mounts as a small FAT volume named BOOTFS:
| Platform | Where to find it |
|---|---|
| macOS | /Volumes/BOOTFS, and on the Finder sidebar under Locations |
| Windows | A removable drive letter labelled BOOTFS in File Explorer |
| Linux | Usually /media/<user>/BOOTFS; otherwise mount the card's first partition |
Open pistomp.conf on that volume and edit:
| Setting | What to put | Default |
|---|---|---|
WIFI_SSID |
Your WiFi network name | "" |
WIFI_PASSWORD |
Your WiFi password | "" |
WIFI_COUNTRY |
Your country code (e.g. US, GB, DE, CA) |
US |
HOSTNAME |
Leave as pistomp |
pistomp |
USER_PASSWORD |
A password for SSH access | pistomp |
TIMEZONE |
Your timezone (e.g. America/Toronto, Europe/London) |
US/Central |
Save the file, eject the card, and continue from Step 2.
The file also carries the JACK_* audio settings. Leave those alone for now; Performance explains when to change them.
If both rpi-preseed.toml and pistomp.conf are present, they don't conflict: the preseed wins for the keys it covers (WiFi, hostname, password, timezone), and pistomp.conf still supplies everything else.
Troubleshooting
- Nothing on the LCD after a minute — check that the SD card is fully seated and the power supply is adequate (27W recommended).
pistomp.localdoesn't resolve — confirm your computer is on the same network, then use the IP address from System info as described in Step 3. Some routers and most corporate or guest networks block mDNS.- WiFi not connecting — recheck the network name and password; the name is case-sensitive. Check the country code too: a wrong one can disable the channels your network uses.
- The Imager wizard settings were ignored — the wizard needs Imager v2.0.11 or newer. Either upgrade Imager or use
pistomp.conf. - The LCD said "Imager setup FAILED" — the preseed file was present but didn't apply, which would otherwise leave the device with no WiFi and no credentials. The pi-Stomp falls back to
pistomp.confand keeps booting. Configure it using the fallback path.